You cannot grow natural amethyst at home. Real amethyst is a violet variety of quartz that forms over millions of years under specific geological conditions deep in the earth, and the only way to produce genuine synthetic amethyst in a lab is through a hydrothermal autoclave process that requires sealed steel pressure vessels, temperatures above 300°C, and a gamma irradiation step to develop the purple color. None of that is feasible in a kitchen or garage. What you <em>can</em> do is grow amethyst-colored crystals at home from a chemical solution, most easily using potassium alum dyed violet, and get genuinely impressive results with a few dollars' worth of supplies and a week or two of patience.
Can You Grow Amethyst at Home Step by Step Guide
Marcus Holloway
12 Apr 2026
True amethyst vs. what you can actually grow
Amethyst's purple color comes from iron impurities inside quartz that have been altered by natural irradiation over geological time. The color is essentially a radiation-induced oxidation-state change in those iron centers. Replicating that at home is not possible without an autoclave and a gamma irradiation source. Synthetic amethyst produced commercially uses exactly that process: quartz seed plates are suspended in an aqueous potassium carbonate solution doped with iron (ferrous oxide or metallic iron), sealed inside a steel autoclave, heated to extreme temperatures and pressures, and then irradiated to shift the iron centers to the purple state. Commercial hydrothermal methods for lab-grown gems use sealed steel autoclave pressure vessels for high-pressure hydrothermal synthesis, such as the sealed autoclave reactor designs described by Cambridge Energy Solutions sealed steel autoclave, heated to extreme temperatures and pressures, and then irradiated. The International Gem Society confirms that hydrothermal methods using sealed autoclave vessels are the route to lab-grown gems including amethyst, and that equipment is industrial-grade, not DIY.
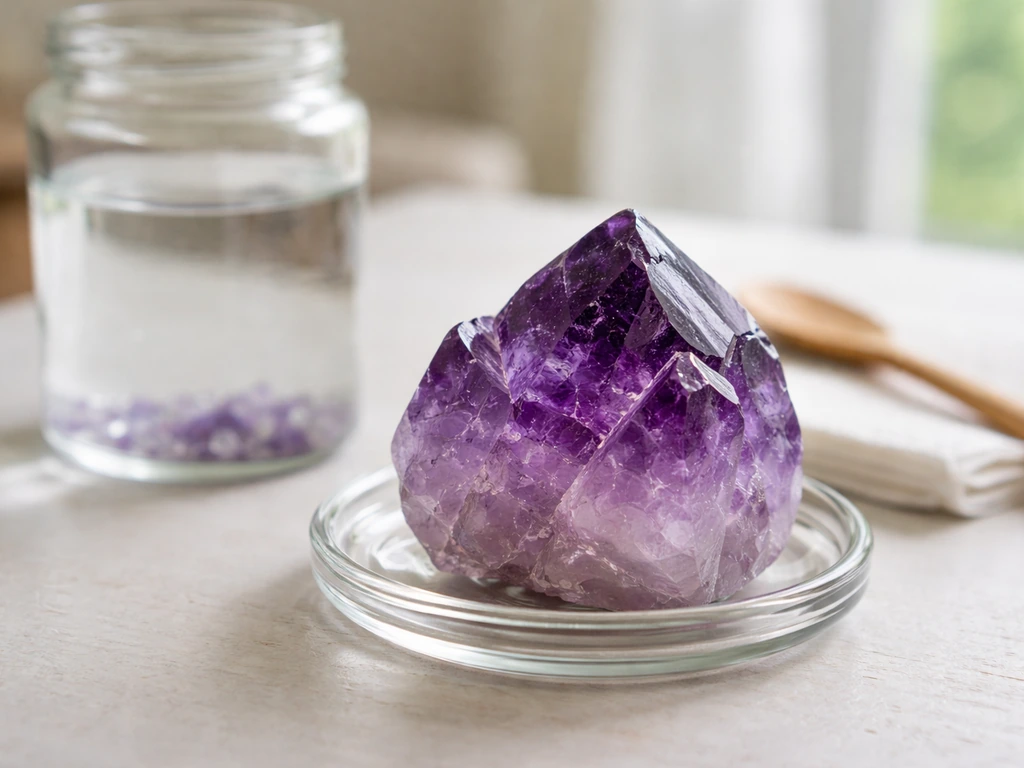
What home crystal growing actually means is crystallizing a salt or mineral compound out of a supersaturated solution. You are not growing quartz; you are growing something that can look just as beautiful and can be colored purple to mimic amethyst. Potassium alum (potassium aluminium sulfate, KAl(SO4)2·12H2O) is the gold standard for this because it forms large, clear, geometrically perfect octahedral crystals that closely resemble natural mineral specimens. With purple food dye added to the solution, the result is a convincing amethyst-colored crystal you grew yourself. Crystals can be grown in as little as a few days or over a few months depending on how much size and clarity you want.
What you need and where to get it
The supply list is short and everything is available online or at grocery/hardware stores. Here is what to gather before you start:
- Potassium alum powder: sold as a pickling spice additive (labeled 'alum') in grocery stores, or as a deodorant stone at pharmacies. You can also order food-grade or lab-grade potassium alum online. Expect to pay $5–$10 for enough to run multiple batches.
- Purple or violet food dye: standard liquid or gel food coloring from any grocery store. Gel dye gives more saturated color.
- Clean glass jars: wide-mouth mason jars in pint or quart size work well. One for making the saturated solution, one for the grow jar.
- Distilled water: tap water works but can introduce particles that trigger unwanted nucleation and cloudy crystals. Distilled is worth the extra dollar.
- A nylon thread or thin fishing line and a pencil or chopstick: to suspend the seed crystal in the solution without it resting on the bottom.
- A fine mesh strainer or coffee filter: to filter your saturated solution before use.
- Thermometer: a simple kitchen instant-read thermometer is fine.
- Safety gear: nitrile gloves and safety glasses. Alum is an irritant to eyes and skin at higher concentrations, and its safety data sheet specifically lists eye and skin irritation as hazards.
Step-by-step: how to grow your amethyst-colored crystal
Step 1: Make a saturated solution
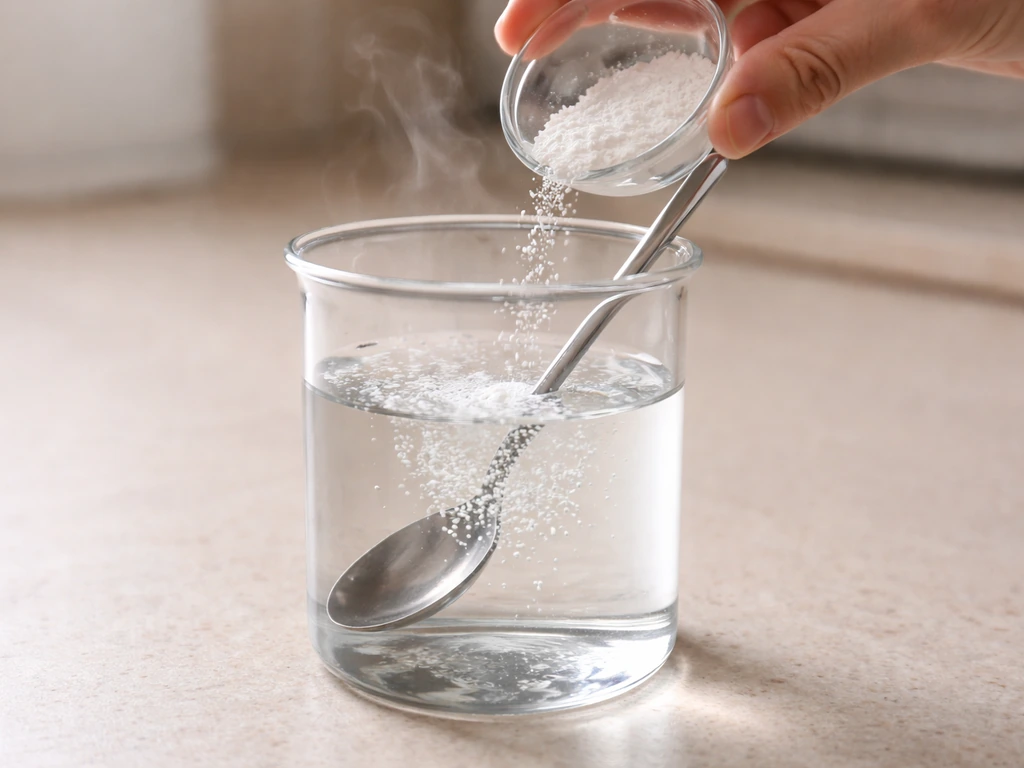
Heat about 1 cup (240 mL) of distilled water to around 55–60°C (130–140°F). Add potassium alum powder a tablespoon at a time, stirring after each addition, until no more will dissolve and a small amount remains undissolved on the bottom. This is your saturated solution at that temperature. Add several drops of purple food dye and stir until the color is even. Filter the solution through a coffee filter into your clean grow jar to remove any undissolved particles. Let the jar cool to room temperature uncovered. As it cools, it becomes supersaturated, meaning it holds more alum than it normally could at that temperature, which is what drives crystal growth.
Step 2: Grow a seed crystal
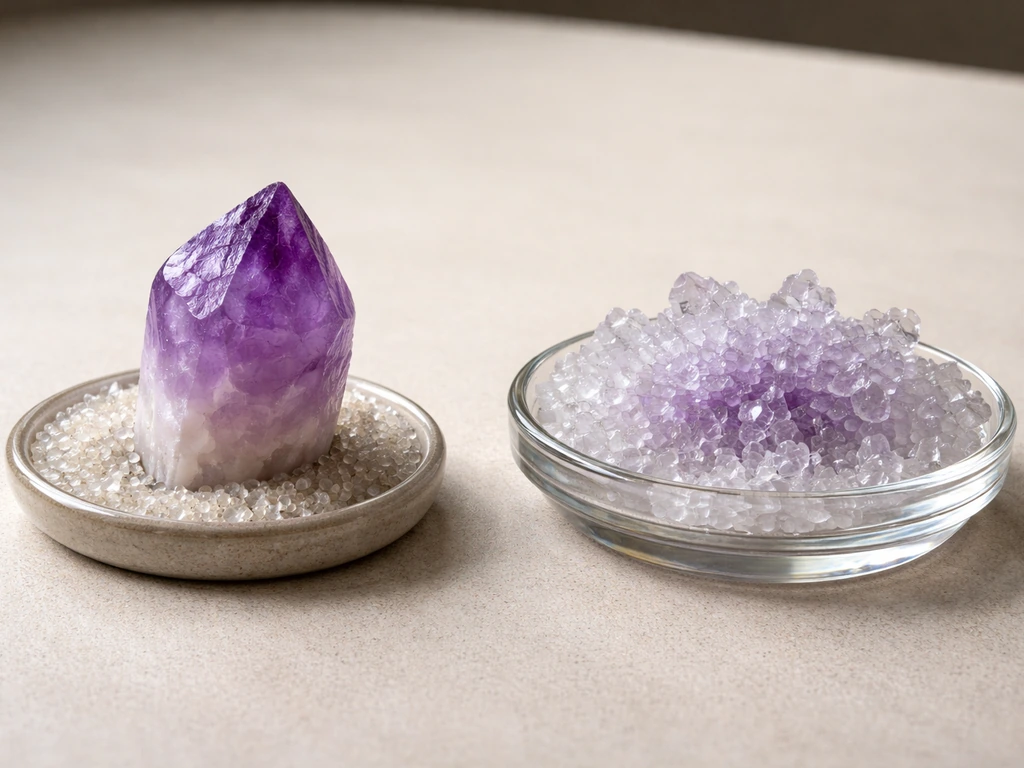
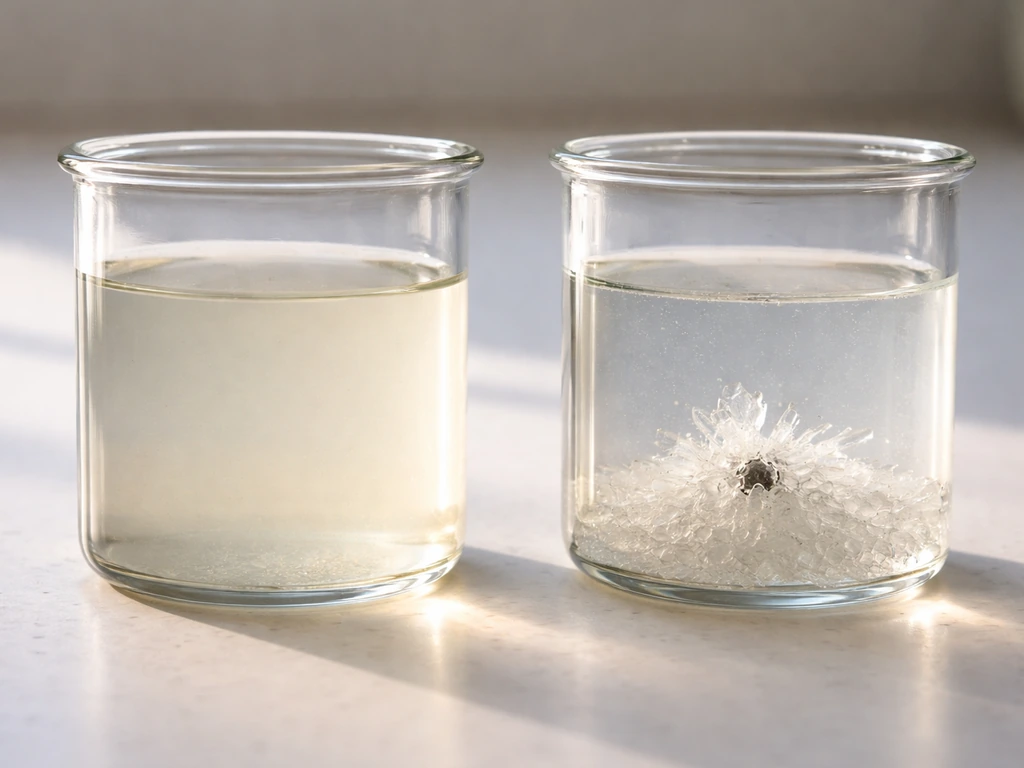
Pour a small amount (about 2 tablespoons) of your cooled saturated solution into a shallow dish and leave it uncovered overnight. Tiny crystals will form on the bottom. Pick the clearest, most well-formed one and tie a short length of nylon thread around it gently. This is your seed. The seed crystal gives the growing solution a template to build on, and without one you will usually get a mass of small competing crystals instead of one large specimen.
Step 3: Set up the grow jar
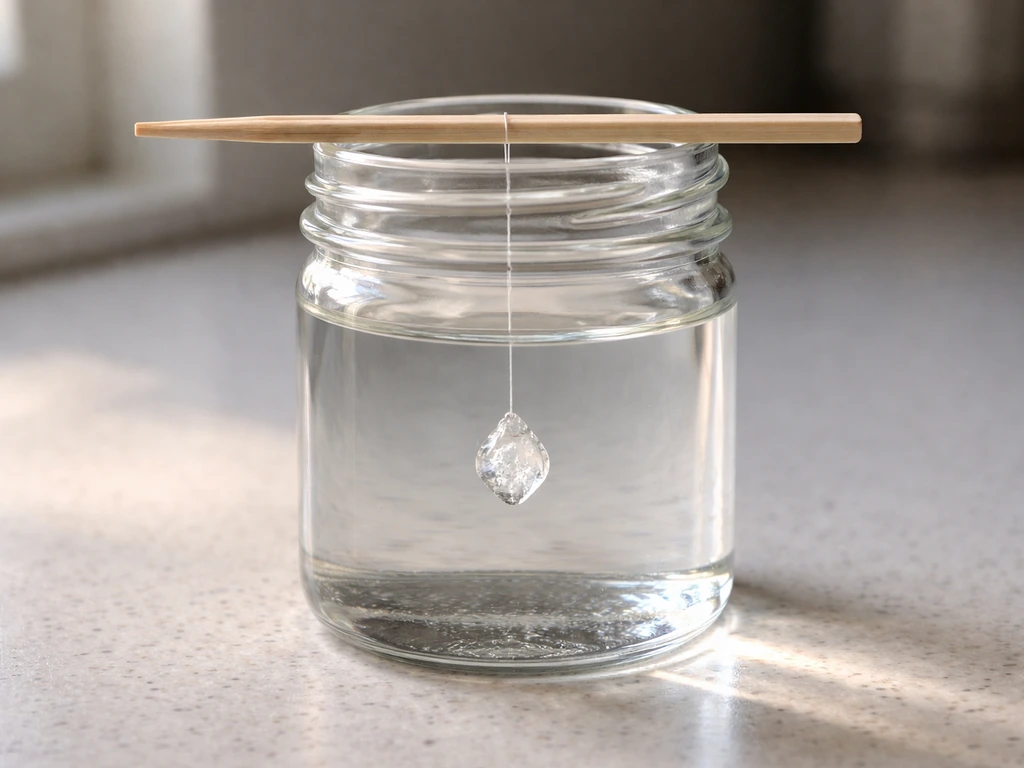
Tie the other end of the thread to a pencil or chopstick resting across the top of your grow jar. The seed should hang in the middle of the solution without touching the sides or bottom. Cover the jar loosely with a paper towel or a piece of cloth secured with a rubber band. This keeps dust out while allowing slow evaporation, which maintains the supersaturated state and keeps growth happening. Yale's crystal-growing educators recommend this exact approach: covering to exclude dust while not sealing completely.
Step 4: Wait, refresh, and repeat
Move the jar to a location with a stable temperature and leave it alone. Check every two to three days. Within the first few days you should see visible growth on the seed. If the solution gets cloudy with lots of tiny crystals forming on the bottom (not on the seed), carefully remove the seed crystal, warm the solution back to 55°C to re-dissolve the excess crystals, filter it again, let it cool, and re-suspend the seed. You can also grow a larger crystal by removing it, making a fresh batch of saturated solution, and re-immersing the now-larger seed to continue growing. Repeating this cycle is how you build a genuinely impressive specimen over several weeks.
How your US region affects the process
Crystal growth from solution is far more sensitive to temperature stability than to climate zone in the way that growing milk thistle in your garden is sensitive to frost dates. Still, your local conditions matter in real, practical ways, and adapting to them is the difference between a beautiful single crystal and a jar of gritty sludge.
| US Region | Key Challenge | Adaptation |
|---|---|---|
| Southeast (FL, GA, AL, MS, LA) | High humidity slows evaporation; summer indoor temps can spike | Run the grow jar in an air-conditioned room; aim for 68–72°F steady |
| Arid Southwest (AZ, NM, NV, UT) | Low humidity causes too-rapid evaporation, speeding nucleation and producing small rough crystals | Seal the jar more tightly with plastic wrap; allow only a pinhole for airflow |
| Northern/Mountain States (MN, MT, ID, CO, WY) | Cold rooms in winter can stall growth; fluctuating temps cause crystal cracking | Keep jar on a shelf above floor level; avoid windows with cold drafts |
| Pacific Coast (CA, OR, WA) | Mild, stable temps are ideal; coastal fog/humidity is generally fine indoors | Minimal adaptation needed; avoid garages in cold coastal nights |
| Midwest/Plains (IL, KS, NE, IA, MO) | Wide seasonal temp swings; dry winters from forced-air heating | Run a small humidifier in the room during winter; keep away from heating vents |
The ideal grow temperature is room temperature in the range of 65–72°F (18–22°C), held as steadily as possible. Fluctuations of more than about 5°F in a single day can cause the crystal to develop stress fractures or lose clarity. This is a purely indoor project regardless of where you live: outdoor temperatures in any US state are too variable to maintain a stable grow environment, and direct sun will heat your solution unevenly and cause rapid unwanted nucleation. Think of it the way you would think about growing a specialty plant that needs a controlled greenhouse environment rather than an open field.
Alum vs. copper sulfate: which should you use?
These are the two most common home crystal-growing compounds and they behave quite differently. Here is a direct comparison:
| Property | Potassium Alum | Copper Sulfate |
|---|---|---|
| Crystal color (undyed) | Clear/colorless | Vivid blue (natural) |
| Color for amethyst effect | Add purple dye | Not suitable (stays blue) |
| Crystal shape | Octahedral (gemstone-like) | Triclinic (more irregular) |
| Availability | Grocery store / online | Hardware store / online |
| Safety | Mild irritant; low toxicity | Toxic to aquatic life; stronger irritant; skin stainer |
| Ease for beginners | Excellent | Moderate |
| Recommended for amethyst effect | Yes | No |
For an amethyst-colored result, potassium alum with purple dye is the clear winner. Copper sulfate produces a naturally blue crystal and adding dye does not realistically shift it to purple. Copper sulfate is also harder to dispose of safely since it is toxic to aquatic organisms. Stick with alum unless you specifically want to explore blue crystal growing as a separate project.
Realistic expectations: time, size, and quality
In a well-maintained setup at stable room temperature, you should see a clearly visible crystal (5–10 mm) within two to three days of suspending your seed. A crystal in the 2–3 cm range with good clarity takes roughly two to three weeks of patient cycling (refreshing the solution every few days as it depletes). Crystals approaching 5 cm or larger require a month or more and consistent maintenance. The color depth depends on how much dye you add to the solution; the dye incorporates into the crystal structure during growth, so a deeper purple solution generally produces a deeper purple crystal, though the color will be lighter than the solution itself.
Do not expect gem-quality clarity on your first attempt. First crystals often have inclusions (trapped air or debris) or slight cloudiness. That is normal and improves with practice. The key variables are solution purity (filter well), temperature stability, and avoiding vibration near the grow jar. Even a genuinely imperfect homegrown crystal is satisfying in a way that collected rocks are not, because you watched it build itself atom by atom. It also makes for a much more interesting conversation piece than, say, trying to explain why you attempted to grow mandrake in your backyard.
Troubleshooting common problems
- No growth at all: The solution is not supersaturated enough. Warm it back to 55–60°C, add more alum until no more dissolves, filter, and cool again before re-suspending the seed.
- Lots of small crystals forming on the jar bottom instead of on the seed: Temperature dropped too fast or the solution was disturbed. Remove the seed, re-warm the solution to re-dissolve the small crystals, filter, cool slowly, and re-suspend.
- Crystal looks cloudy or rough: Usually caused by rapid temperature fluctuation, dust contamination, or too-fast growth. Slow the process by covering more tightly and keeping the room temperature more stable. Slow cooling and slow evaporation consistently produce clearer, larger crystals.
- Crystal falls off the thread: Tie the thread more securely, or use a slightly rougher seed with a natural groove. Some growers use a small drop of clear nail polish on the knot to lock it in place.
- Crystal develops a crack: A sudden temperature change or physical shock. Move the jar somewhere more stable and keep foot traffic and vibrations away from it.
- Color is too faint: Add more purple dye to a fresh batch of saturated solution before re-immersing the crystal. The dye concentration in the solution determines how much color gets locked into the growing crystal.
Safety: what to know before you start
Potassium alum is among the safer chemical compounds you can work with at home, but it is not completely harmless. blank" rel="noopener noreferrer">Its safety data sheets list it as an irritant to eyes, skin, and the respiratory tract, particularly in powdered form. When you are measuring and dissolving alum powder, wear nitrile gloves and safety glasses, and do it in a well-ventilated area or near an open window. Avoid breathing the powder directly. If alum solution contacts your eyes, rinse immediately with clean water for at least 15 minutes.
Disposal is straightforward: diluted alum solution can be poured down the drain with plenty of water in most US municipalities. It is not classified as a hazardous waste at home-use concentrations. If you ever experiment with sodium silicate (water glass) solutions in more advanced projects, treat those with more caution: sodium silicate is caustic and requires lab-grade handling, full eye and face protection, and specific disposal guidance per local regulations.
Keep the grow jar away from children and pets during the process. The solution looks like flavored water but is not food. Label the jar clearly. This project is genuinely safe when approached with basic common sense, the same level of care you would take with any chemistry kit. It is a lot less hazardous than, say, researching whether you can grow ephedra as a home project, which involves a whole different category of regulatory and safety considerations.
Your next steps
If you want to try this today, the fastest path is to order potassium alum online (or grab the pickling alum from a grocery store), pick up purple gel food dye, and start your saturated solution this afternoon. By tomorrow you will have seed crystals forming. Within a week you will have something worth showing off. Growing crystals from solution is genuinely one of the most accessible home science projects there is: low cost, low risk, and high satisfaction. The process is methodical enough that it feels like real science, which it is. It is also the kind of project that leads naturally into broader curiosity about how things grow from solutions and chemical environments, the same curiosity that might have you wondering whether you can grow spaghetti squash in your climate zone or experimenting with other specialty crops that need specific controlled conditions to thrive.
FAQ
Can I make my crystals look more like true amethyst (deep purple)?
If you try to get “real amethyst” color, the key is that you are only mimicking the look. For the best purple crystals, use a purple dye that dissolves well in water (gel food dye usually works better than watery dye), and keep the dye level consistent batch to batch. Expect the crystal to be lighter than the colored solution, because the dye is not incorporated 1:1 into the crystal lattice.
What should I do if my jar turns cloudy with lots of tiny crystals?
Yes, but size comes with clarity tradeoffs. To avoid a jar full of competing crystals, keep the solution slightly disturbed only when you intentionally refresh it, use a single seed, and place the jar away from vibrations (speakers, washing machines, heavy foot traffic). If you see lots of crystals forming on the bottom, it usually means the solution is too close to nucleating everything, so reheat, refilter, and restart.
Why did growth slow down or stop completely?
If crystals stop growing, the most common causes are (1) temperature is drifting out of the ideal range, (2) the seed is touching the container, or (3) the solution is not supersaturated anymore. Remove the seed, warm the solution back to about 55 to 60°C to redissolve excess material, filter again, cool, and re-hang the seed centered and suspended.
Should I seal the jar tightly to help crystals grow?
A paper towel or cloth cover is meant to keep dust out while still allowing slow evaporation. Do not use an airtight lid, because you want gradual evaporation to maintain supersaturation. Also avoid plastic wrap pressed tight, it can trap condensation and change the concentration at the wrong rate.
How can I increase my odds of getting one large crystal instead of many small ones?
For first-time success, aim for a single clean seed in the middle of the jar, and refresh the solution every few days rather than letting it run until it is fully cloudy. You can start with a smaller grow jar (enough solution to suspend the seed with clearance all around), because it helps you maintain stable temperature and reduces the chance that undissolved particles end up as random nucleation sites.
Why is my crystal gritty or full of trapped debris?
Do not. Using undissolved alum or dirty water is the fastest way to get gritty, cloudy results because particles act as extra nucleation points. Filter the cooled saturated solution through a coffee filter, and make sure the jar and thread are clean before assembly.
My crystal has cracks or “stress lines.” What went wrong?
If a crystal cracks, it is usually due to temperature swings, too-fast evaporation, or bumping the jar. Put the jar in a spot where room temperature stays steady, avoid sunlight hotspots, and handle the jar gently during checks. If you must move it, move it after you refresh and re-hang the seed, not mid-cycle.
Should I start with a small batch or can I scale up right away?
The quickest path to better results is to run a small “test” batch first: one cup of water to make the saturated solution, and then seed that jar using the clearest crystal you pick. Once you get consistent growth and clarity, scale up the volume for larger specimens, because scaling changes how easily the solution temperature stays uniform.
Is it safe to use my kitchen setup for this, and what if I spill?
If you accidentally spill dye-colored alum solution, blot and rinse the surface with plenty of water. For stained fabrics, pre-treat with detergent first, then wash. Keep the grow area separate from food prep surfaces, because the jar can look harmless even though it is not food.
What is the safest way to dispose of leftover alum solution?
Potassium alum solution is generally fine to dispose of down the drain in typical home-use concentrations with lots of water, but avoid dumping large concentrated amounts at once. Always let solids dissolve fully before disposal, and do not mix it with other unknown chemicals in the sink.
Next Articles
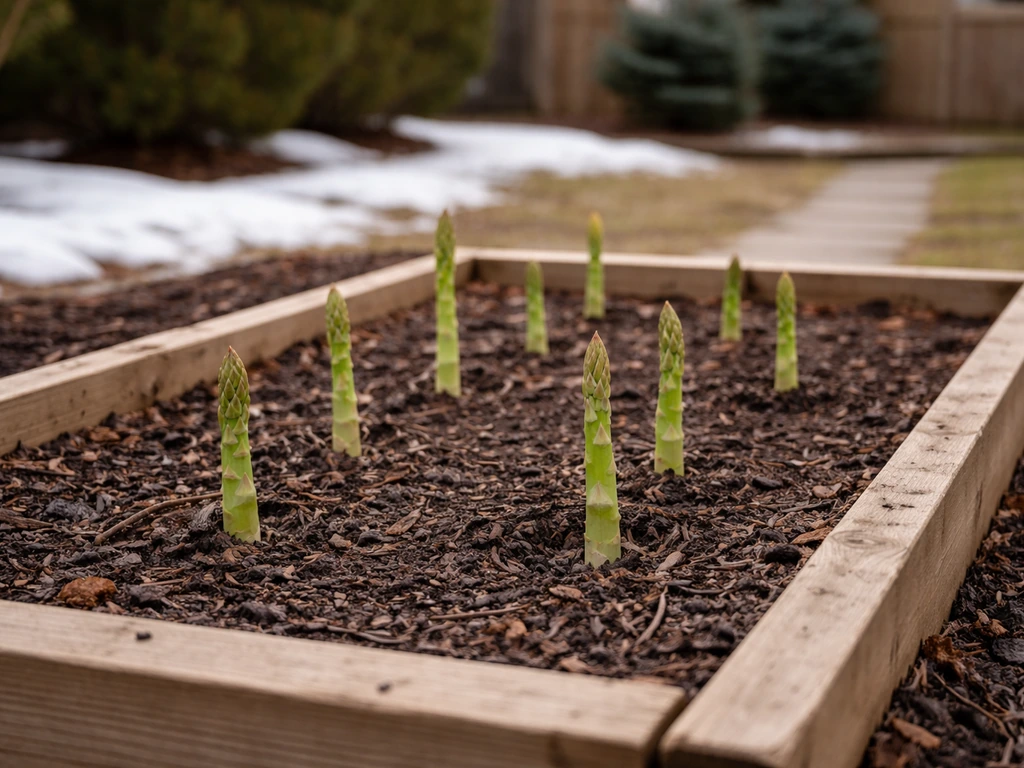
Can You Grow Asparagus in Canada? Planting Guide by Zone
Grow asparagus in Canada by zone: site, hardiness, crowns or seed, planting depth, care, and harvest plus fixes
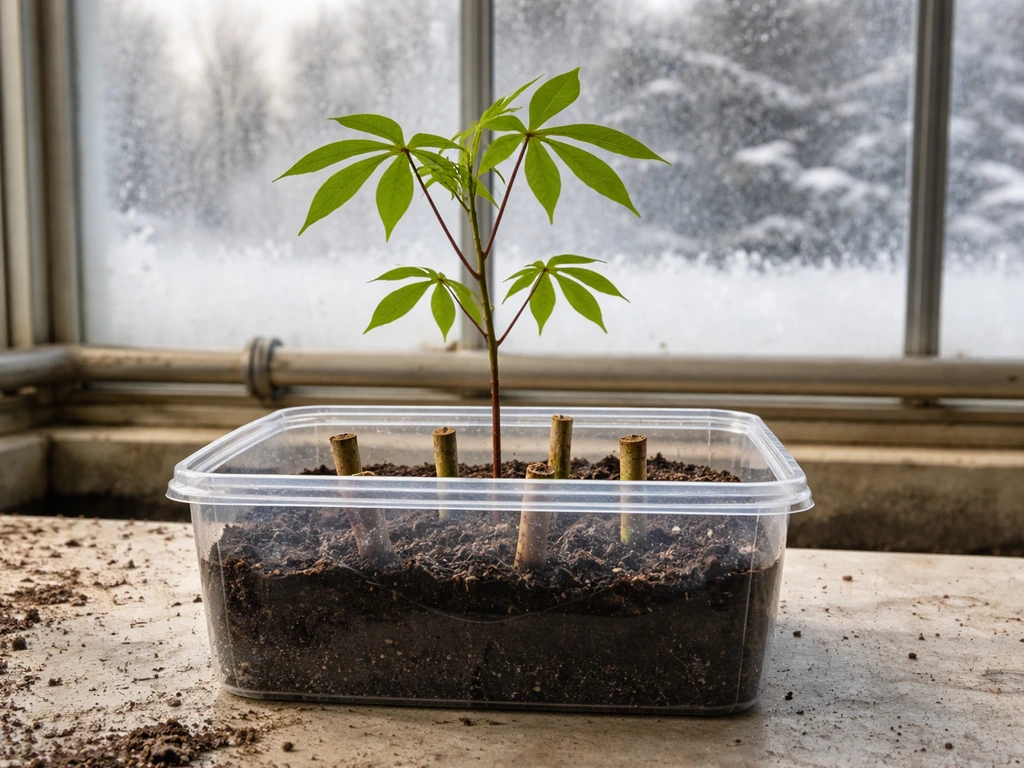
Can You Grow Cassava in Canada? Feasibility and Steps
Learn if you can grow cassava in Canada, where it works, and step-by-step greenhouse or container growing for harvest.
Can You Grow Chayote in Canada? Step by Step Guide
Grow chayote in Canada with region tips, indoor starts, trellising, care, harvest timing, and winter survival methods.